Part two of our remuddling updates. For Part one, go here. After a lengthy deconstruction phase, we were excited to get to the building phase.
But first, a new subfloor needed to go into the new bathroom.
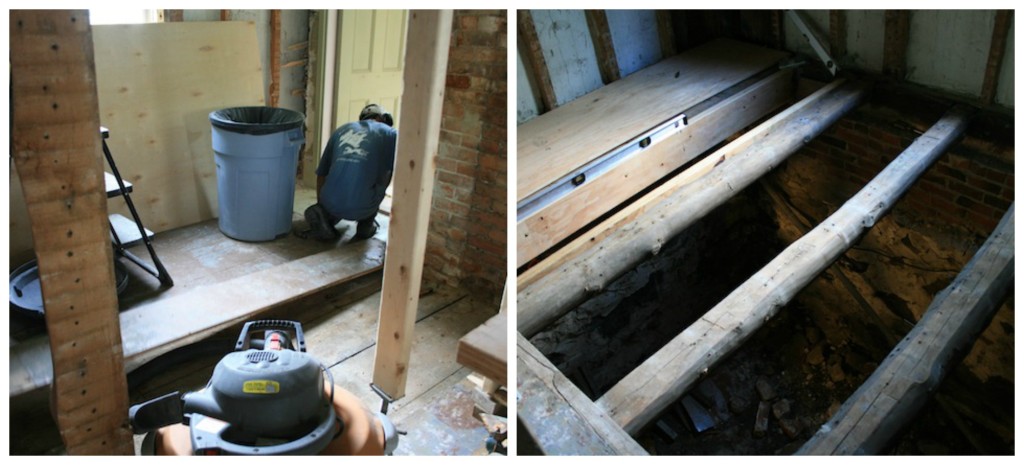
Tig took the floor down to the joists and discovered they needed some reinforcing.
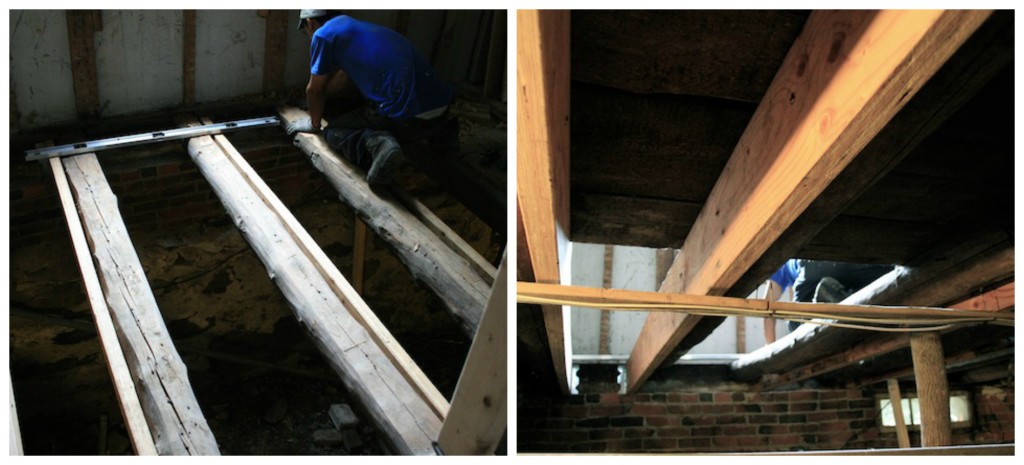
That meant more LVL sister joists. But, in order to sister the joists, he had to pull all the furnace ducting…
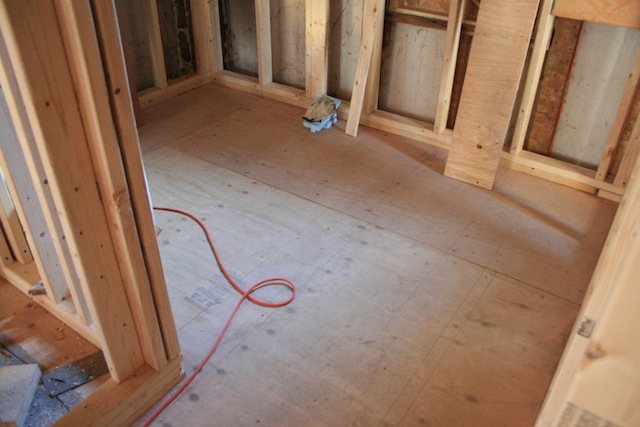
Once everything was level, he was able to put down a new plywood subfloor.
New walls.
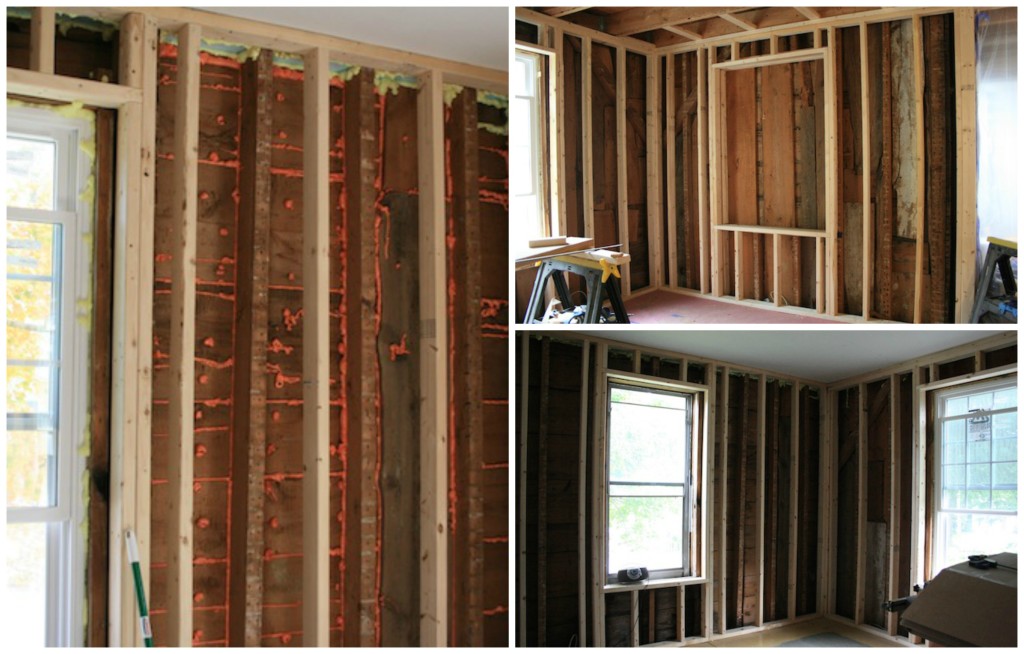
The next step was to build out the inside of the walls to create a 7-8 inch pocket for insulation. For this step, I hired out a carpenter. Wayne and his guy came in with nail guns and banged out the walls in one day while Tig was working. I was so thrilled, it was money well spent. Next was air sealing all the little cracks and nail holes with foam (above left picture).
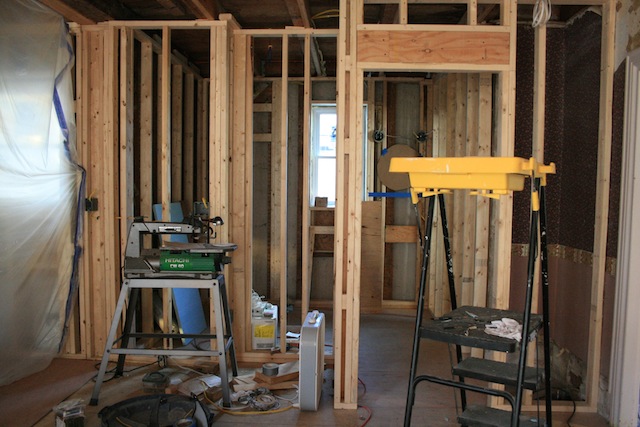
Tig worked on the bathroom/kitchen walls himself as there were a lot of design decisions involved.
New windows.
Before this Tig had also been putting in new double-paned windows. We ordered these from a local company. The first wave had been installed fairly quickly.
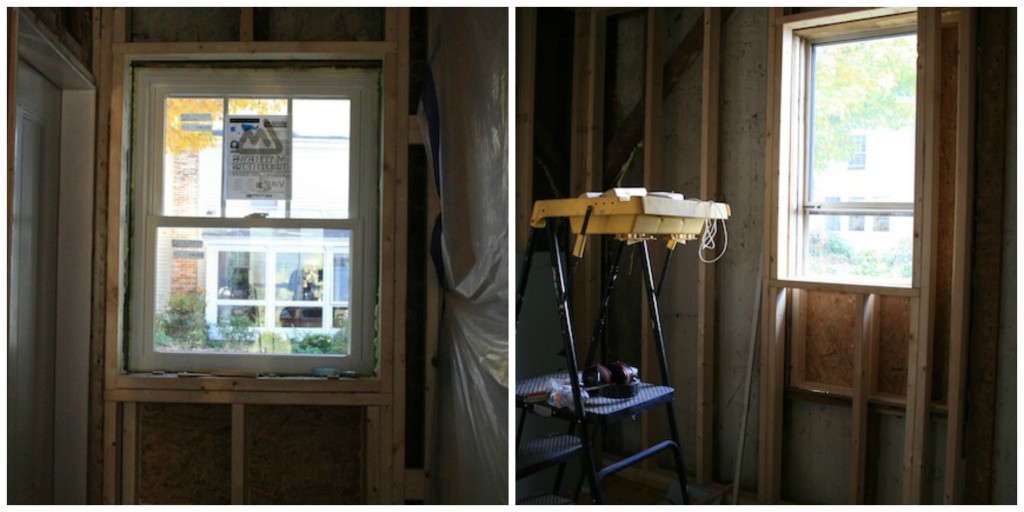
A couple of the new windows had to be sized down to accommodate our future bathroom and kitchen. Tig had to reframe the opening.
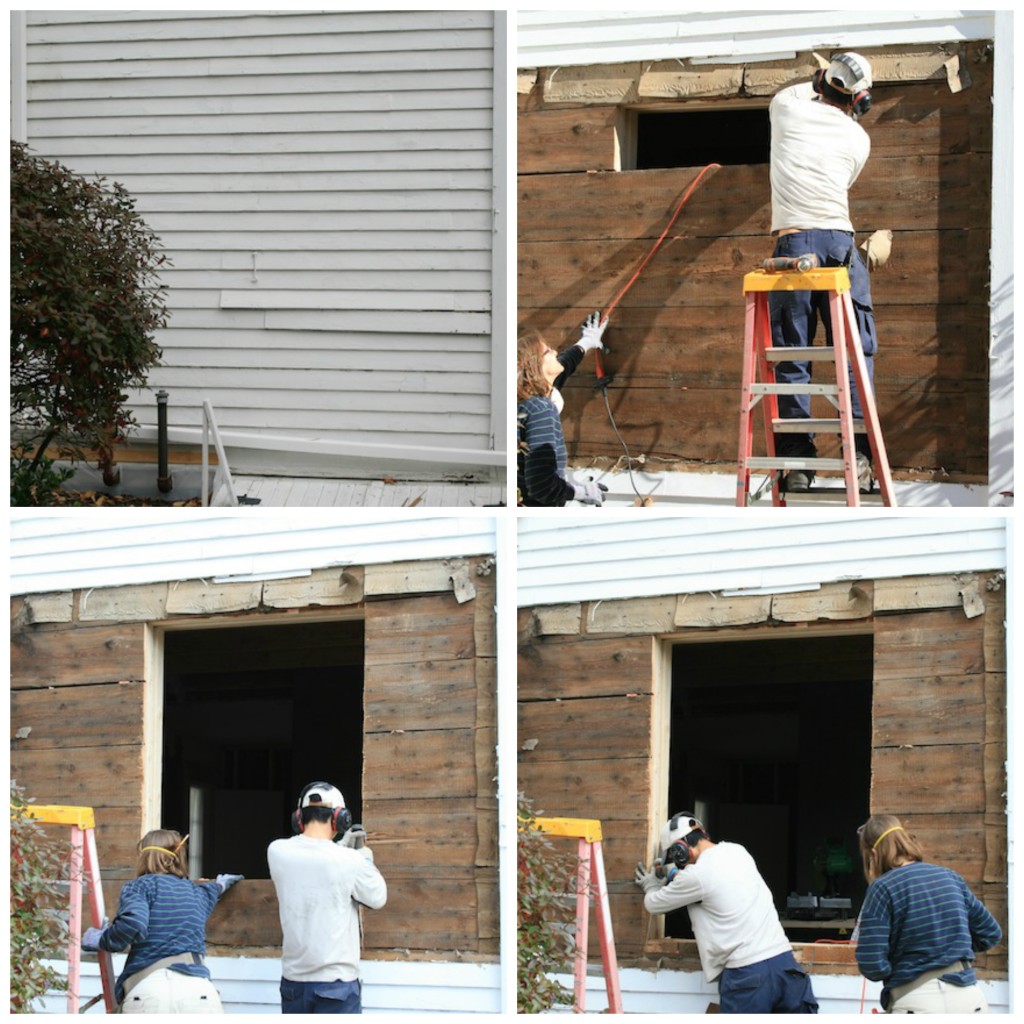
We also wanted one new window in our breakfast nook/dining room. The southwest facing wall gets a lot of sun.
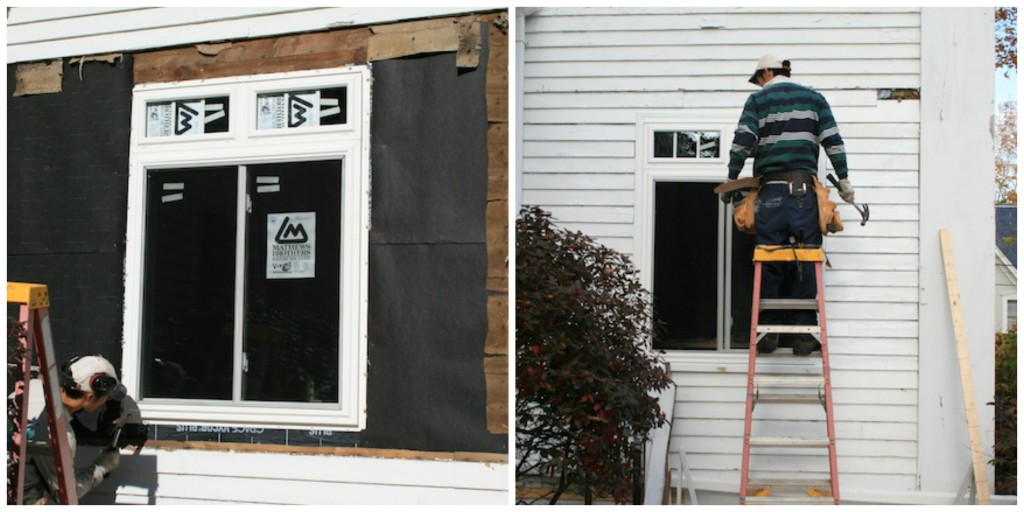
With the window installed, and siding put back into place.
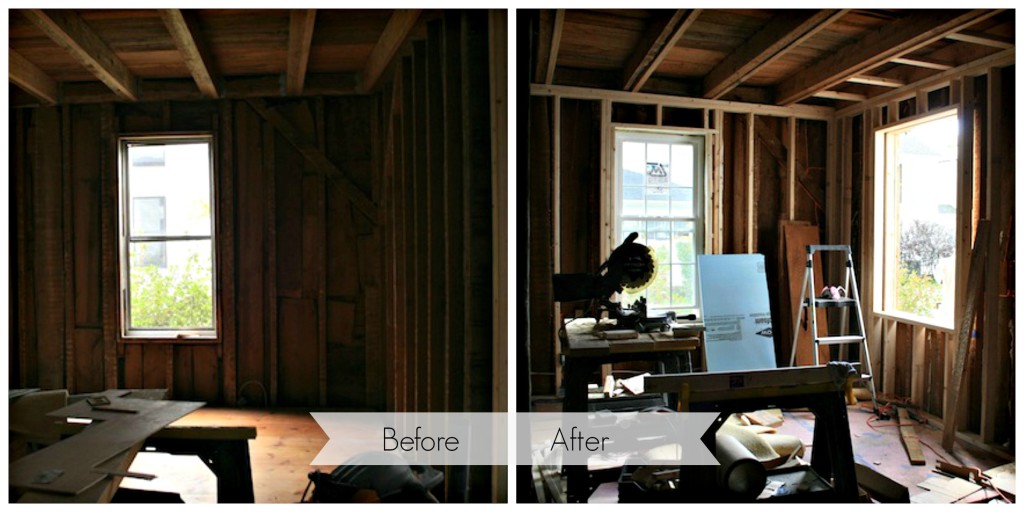
The new window made such a huge difference. I love the quality of light in the space. If only I could move right in and eat our meals here! But there is a lot more to be done. The next milestone is insulation, and then walls. I’ll keep updating this space as things move along.

7 Repair, don’t replace, windows. They are important to the home’s historic value. Old windows leak and are drafty because they haven’t been properly maintained. Have them repaired and weatherstripped so they’re efficient and work. Adding historically accurate storm windows outside can boost efficiency. The same for original doors. Leave them.